My Barber Shop
Barbers & Hair Salons WordPress Theme
- By: Awaiken Technology
- https://awaiken.com
- email: support@awaikenthemes.com
Thank you for purchasing our WordPress Theme. If you have any questions that are beyond the scope of this documentation, please feel free to email us at support@awaikenthemes.com
About The Theme
We recommend that you contact your web hosting service provider to make sure that your server PHP configuration limits are as follows:
-
max_execution_time 600 -
memory_limit 128M -
post_max_size 32M -
upload_max_filesize 32M
If you are running unmanaged dedicated server or VPS, you should check your php.ini file. Alternatively, you can edit .htaccess file in the root of your website and add the following values:
-
php_value max_execution_time 600 -
php_value memory_limit 128M -
php_value post_max_size 32M -
php_value upload_max_filesize 32M
Theme Installation
1) Using WordPress Theme Upload
- Log into the WordPress admin panel.
- Navigate to Appearance > Themes and click on Add New and Upload Theme.
- Select the mybarbershop.zip file and click Install Now button.
- After the successful installation, click on Activate or navigate to the Appearance > Themes and click on Activate for the theme My Barber Shop.
2) Uploading by FTP
- Login to your FTP server and navigate to your WordPress themes directory. Normally this would be wp-content/themes
- Extract the mybarbershop.zip file from the zipped theme.
- Upload the folder mybarbershop to your themes directory.
- After the files finish uploading, login to your WordPress admin.
- In the Appearance menu click Themes
- Click Activate for the theme My Barber Shop
Install Required Plugins
- Elementor (required)
- Essential Addons for Elementor (required)
- Contact Form 7
- One Click Demo Import
After installing theme, you need to install required plugins. You will see a notice for install required plugins.
- Click on Begin installing plugins. Or go Appearance > Install Plugins.
- You will see list of plugin need to be installed. Now, check all plugins & select bulk options install and click Apply.
- All plugin will be installed. Now, Click on Return to Required Plugins Installer.
- You need to active plugins. Now, check all plugins & select bulk options Active and click Apply.
- Click on Return to the Dashboard .
Child Theme
If you want to make changes to the theme's files and functions, we recommend installing a child theme. This ensures that your theme customizations stay in place after the theme update. If you are not planning to change the core theme files, you are free to skip this chapter.
Note: Install the child theme before importing the demo data. Otherwise, all of your theme options will be reset.
A child theme is installed the same way you install a parent theme. Locate the mybarbershop-child.zip file in the theme package and upload it via the WordPress admin panel. Alternatively, you can unzip it and upload via FTP (see main theme installation chapter).
WordPress Codex on Child Themes
Import Demo Data
Our theme includes a simple One-click demo data installation, which allows your site to look exactly as on the theme demo.
Before installing demo data, please make sure you have installed all the required plug-ins, check the Plug-ins installation section for more information.
- Go to the admin area Appearance > Import Demo Data.
- Now, Click on Import Demo Data button.
Theme Options
This section provides overview of the theme options configuration. It will help you get started quickly by introducing the theme structure and settings. Theme Options are located in Appearance > Customize
Theme Options (Appearance > Customize)
-
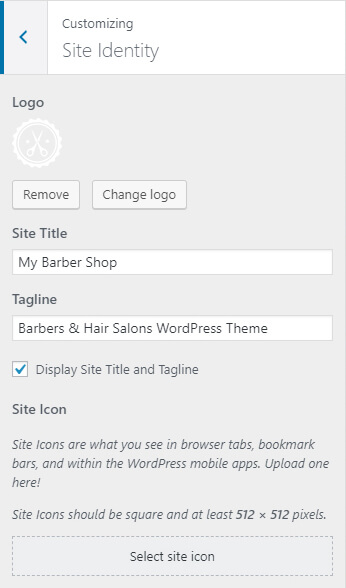
Site Identity
This section use to manage site identity features. Here you can upload your site logo.
-
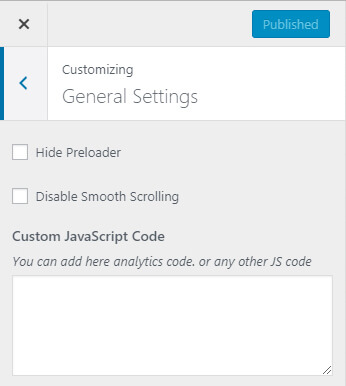
General Settings
-
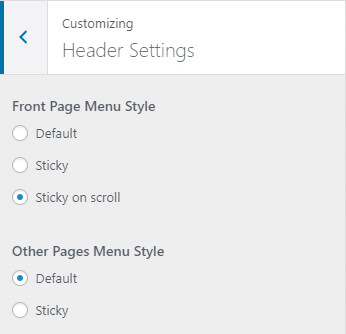
Header Settings
-
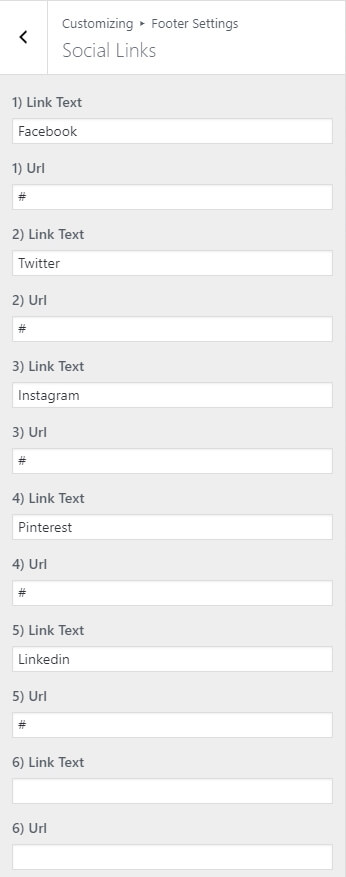
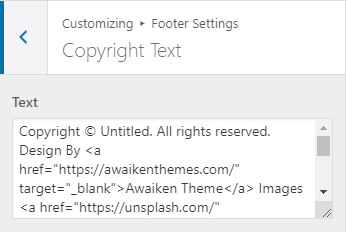
Footer Settings
-
Additional CSS
How to edit Front Page
- Log into the WordPress admin panel.
- Navigate to Pages > All Pages and click on Home page.
- Click on Edit with Elementor button.
- Now you can see a section in edit mode. Click on section which you want to edit.
- Make sure to click Update in the lower-left to publish these changes on your site.